TV Shows You Should Be Watching

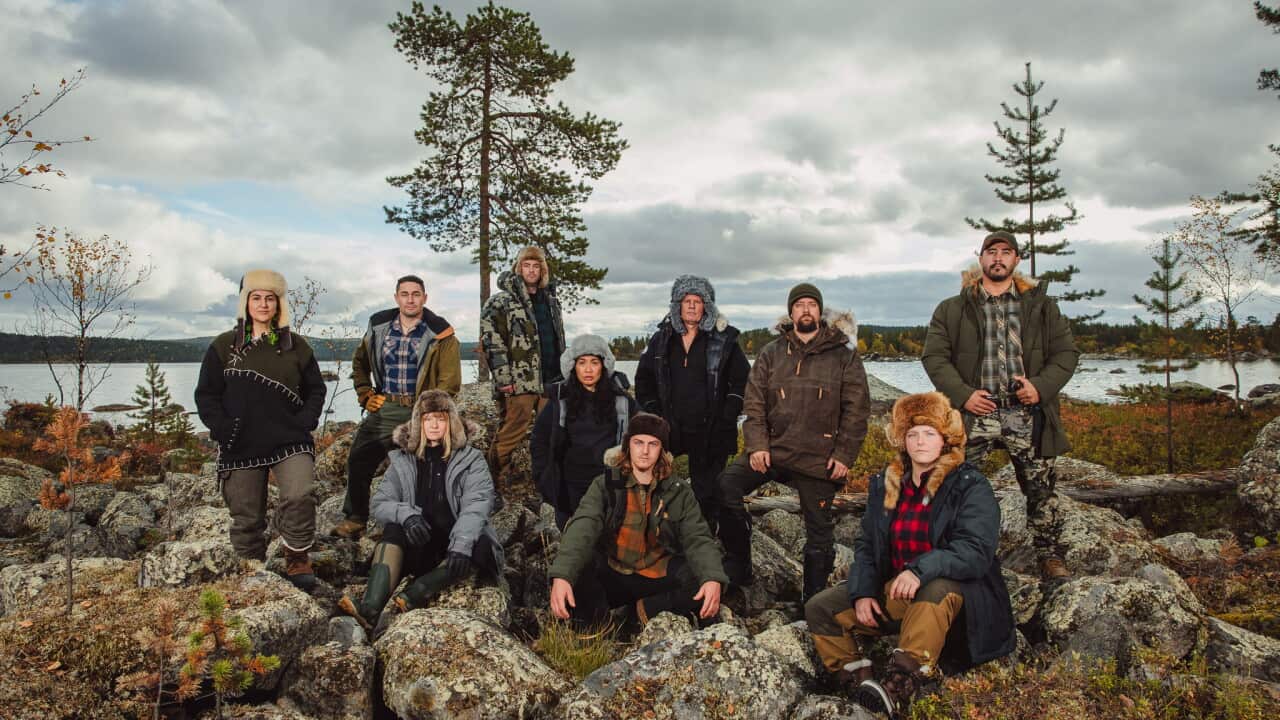
How to watch 'Alone Australia' season 4
Viewing Guide
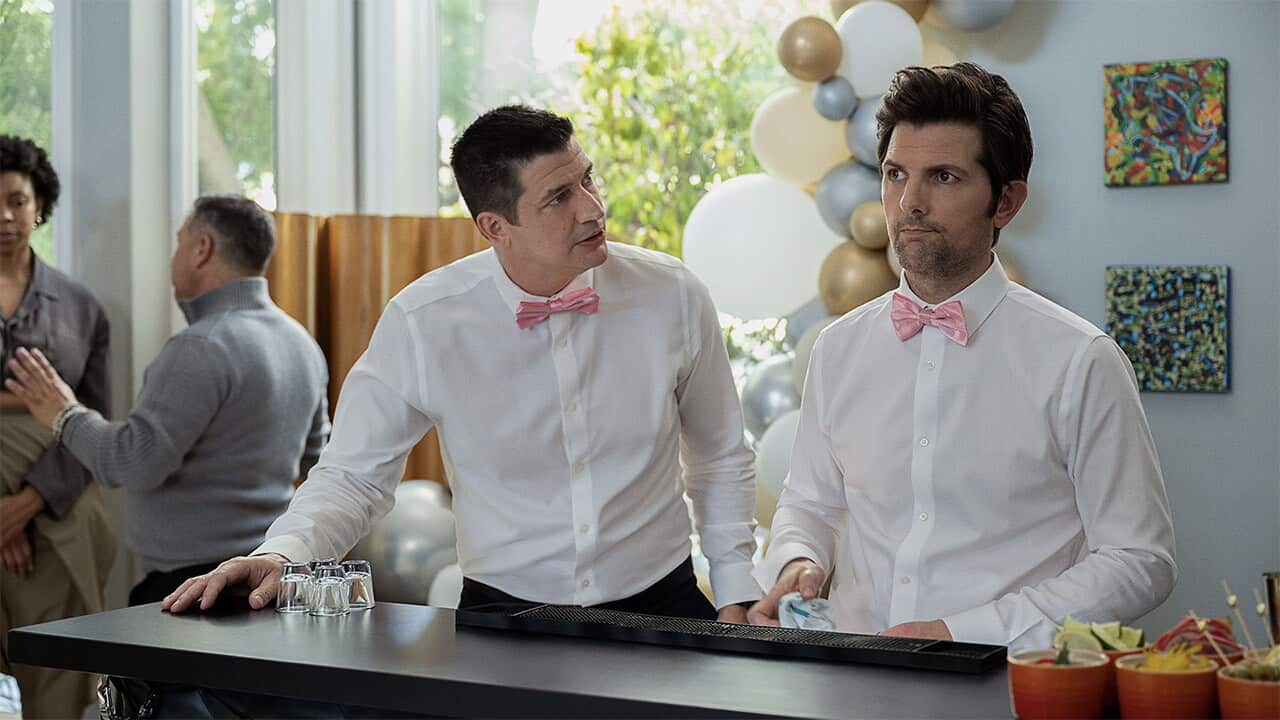


Top new TV series to watch this July
Viewing Guide

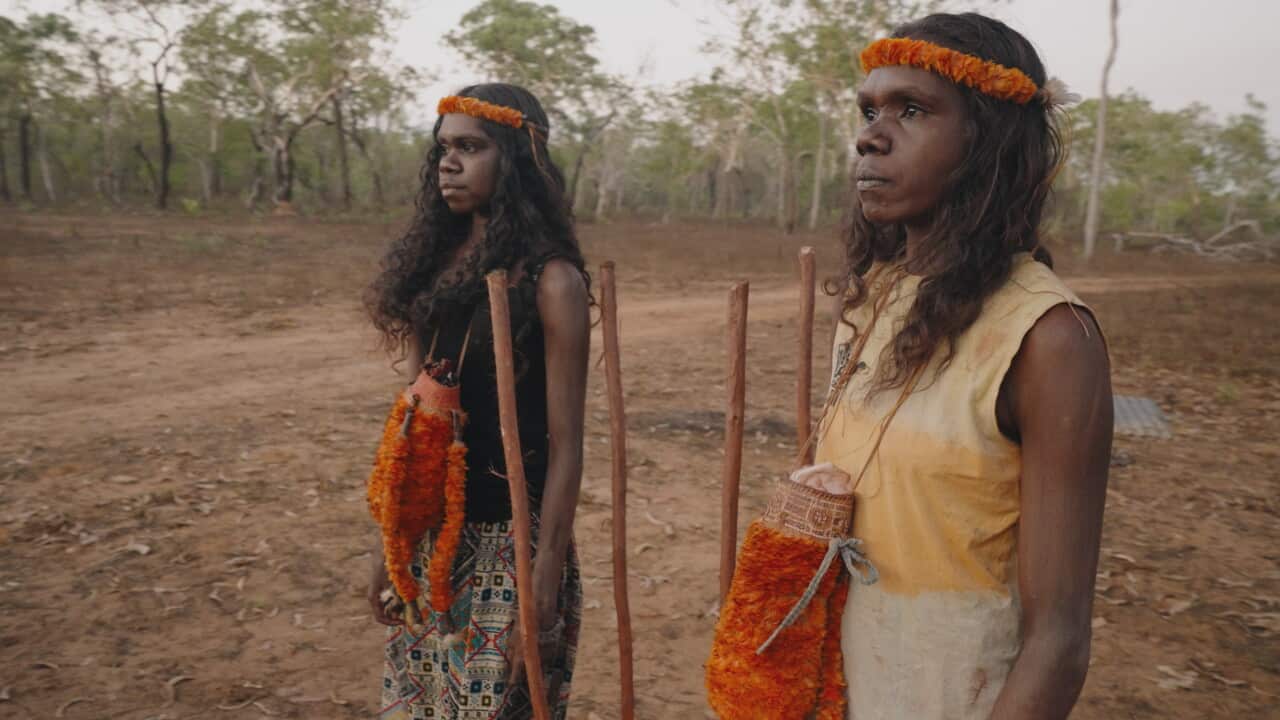
What's leaving SBS On Demand in July 2026
Viewing Guide

SBS and NITV receive eight Logie nominations
Announcement

Meet the fearless cast of 'Alone Australia' season 4
What to Watch
Listen to our podcasts
 Eyes on GileadSBS's award winning companion podcast.
 SeenJoin host Yumi Stynes for Seen, a new SBS podcast about cultural creatives who have risen to excellence despite a role-model vacuum.
Get the latest with our SBS podcasts on your favourite podcast apps.