
Here is an easy yet creative DIY Christmas decoration perfect as Christmas activity for the whole family this merry season!
Christine Enero, an incoming third year Psychology student from La Trobe University who has an immense love for creating handicrafts made from recycled materials shares one of her favourite DIY Christmas craft ideas- the Christmas Cone.
So you better not cry, you better not pout, instead, prepare your materials and let's start!
Christmas Cone made from recycled materials
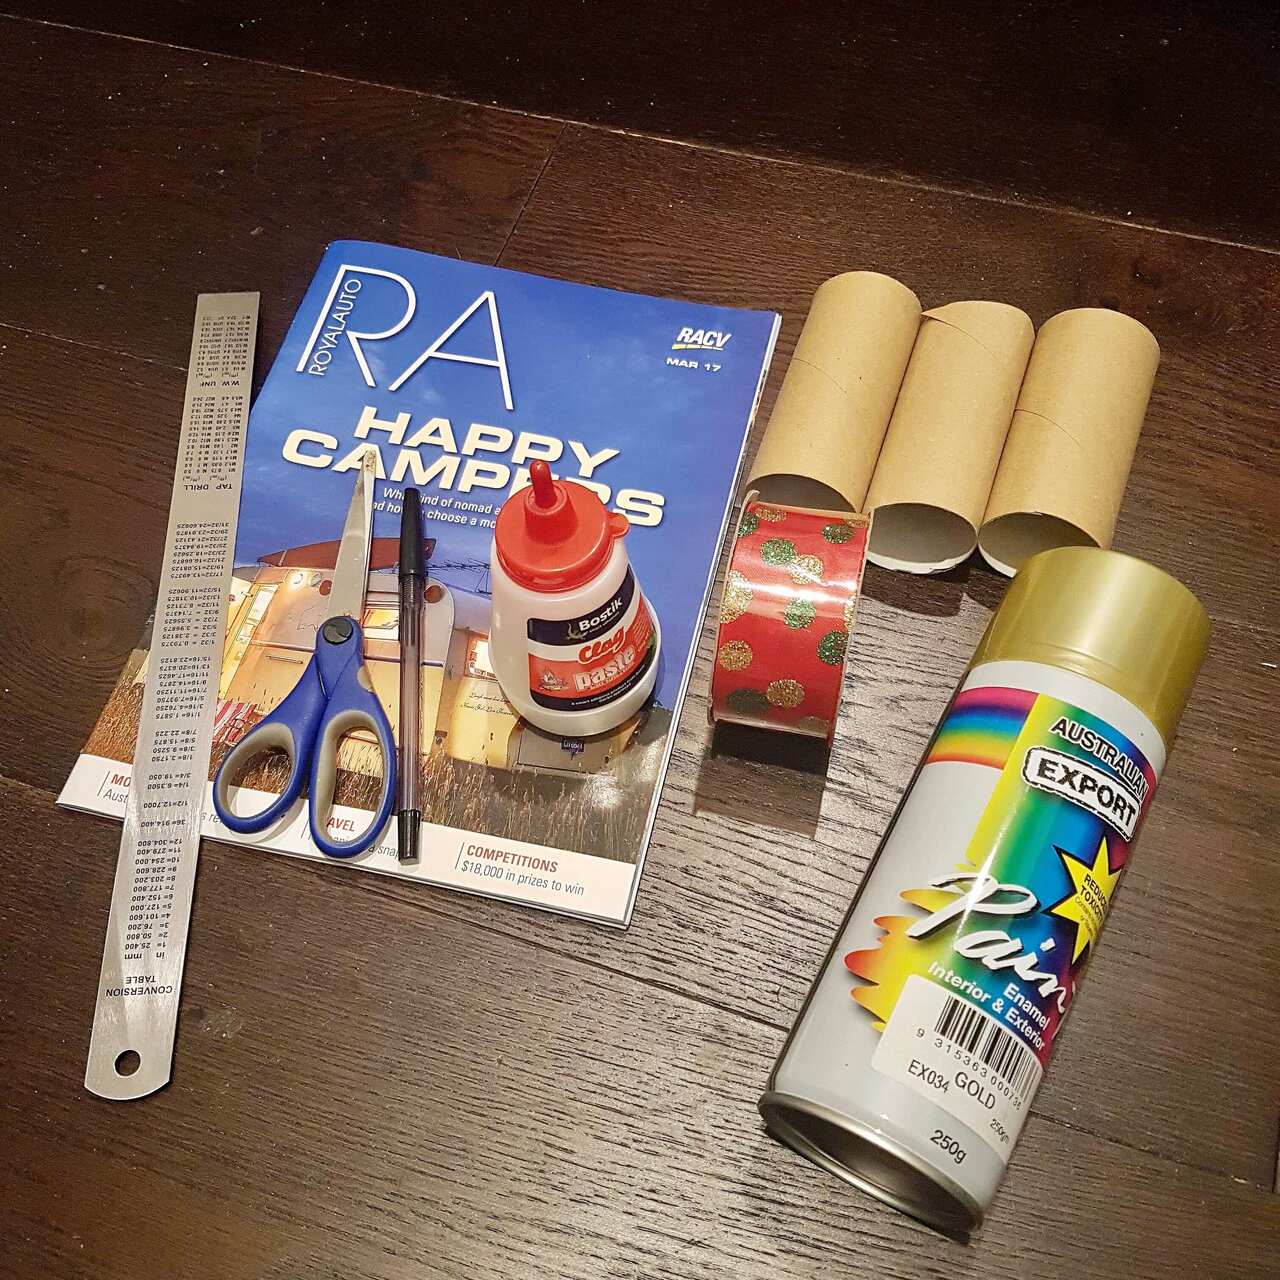
Materials:
• Old magazine
• Glue
• Acrylic paint or spray paint
• Tissue roll
• Ruler
• Scissors
• Pen
• Paper and glitters
Procedure:
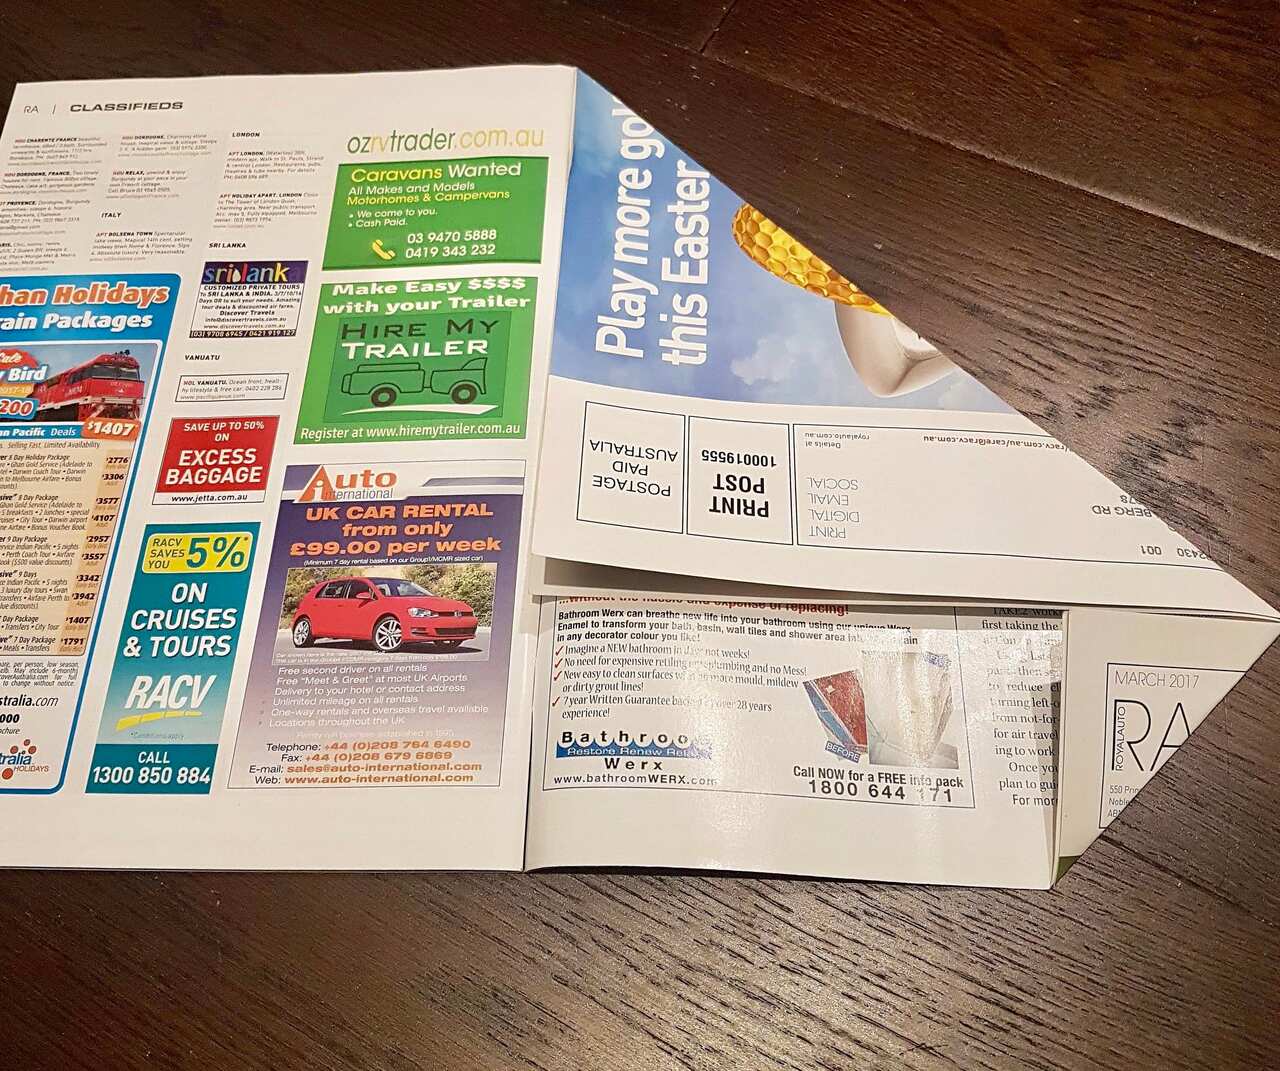
1.Get an old magazine (make sure it is 50 pages or more), take two pages and fold it inward into a triangle and fold the bottom part inward as well, forming a small triangle. Repeat this step until all the pages are folded (remember to always fold two pages together).
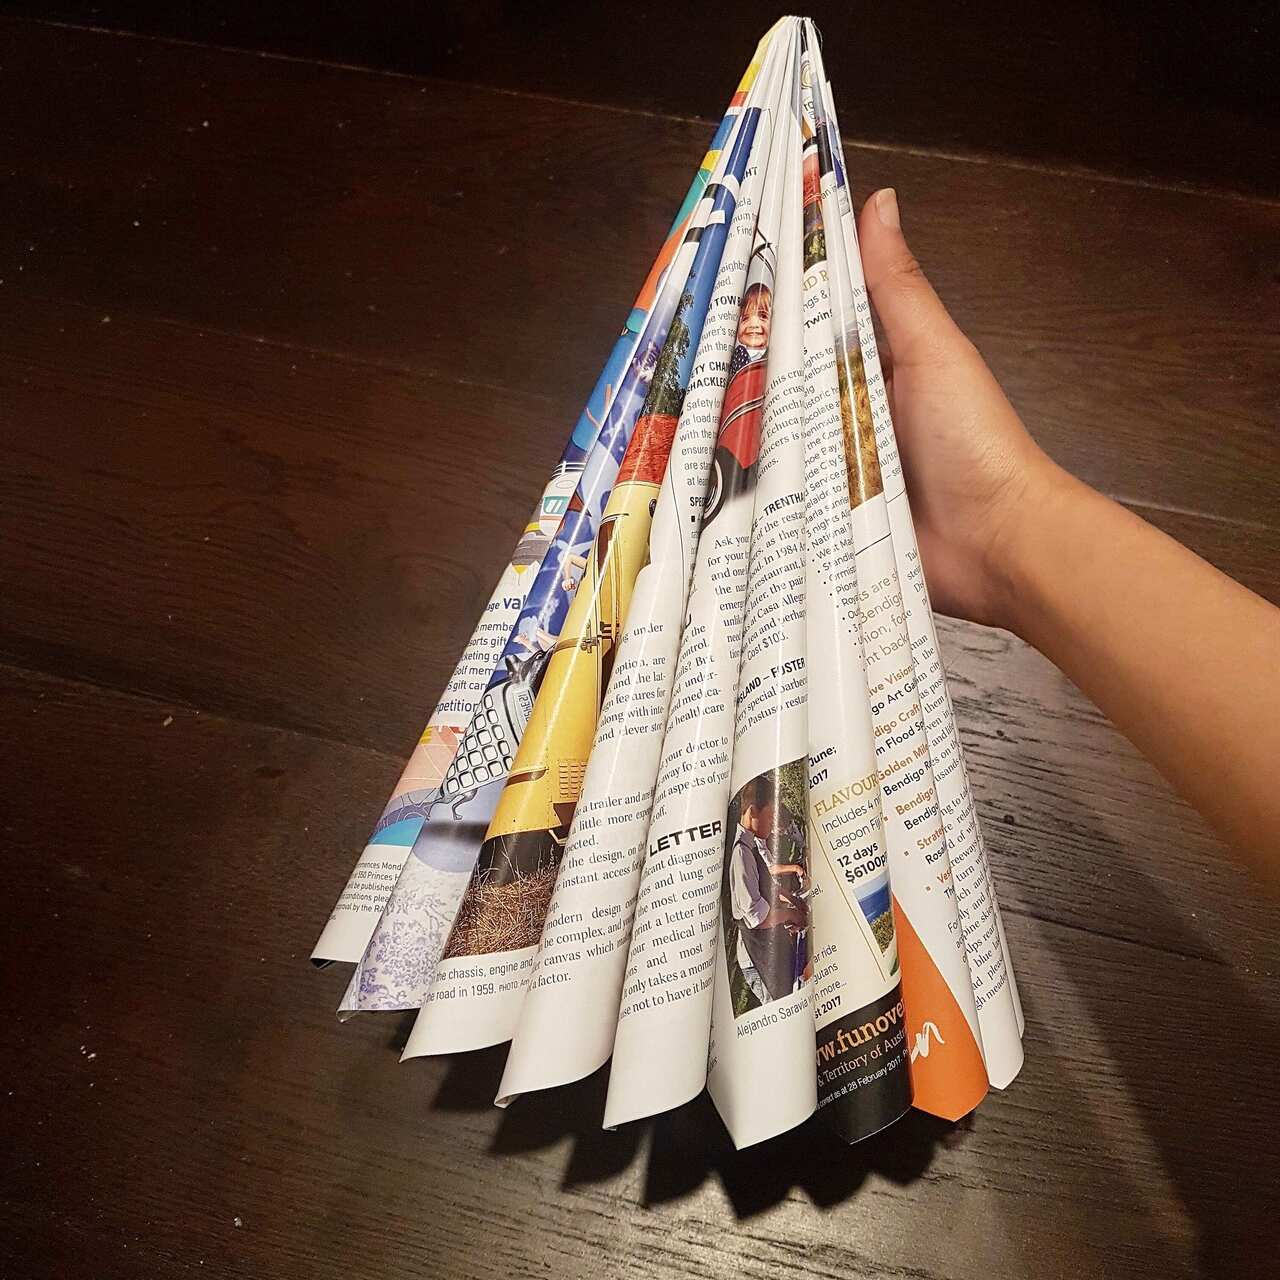
2. Bend the folded pages inward and use a glue to stick it inside. Repeat this step until all the pages are bended inward.
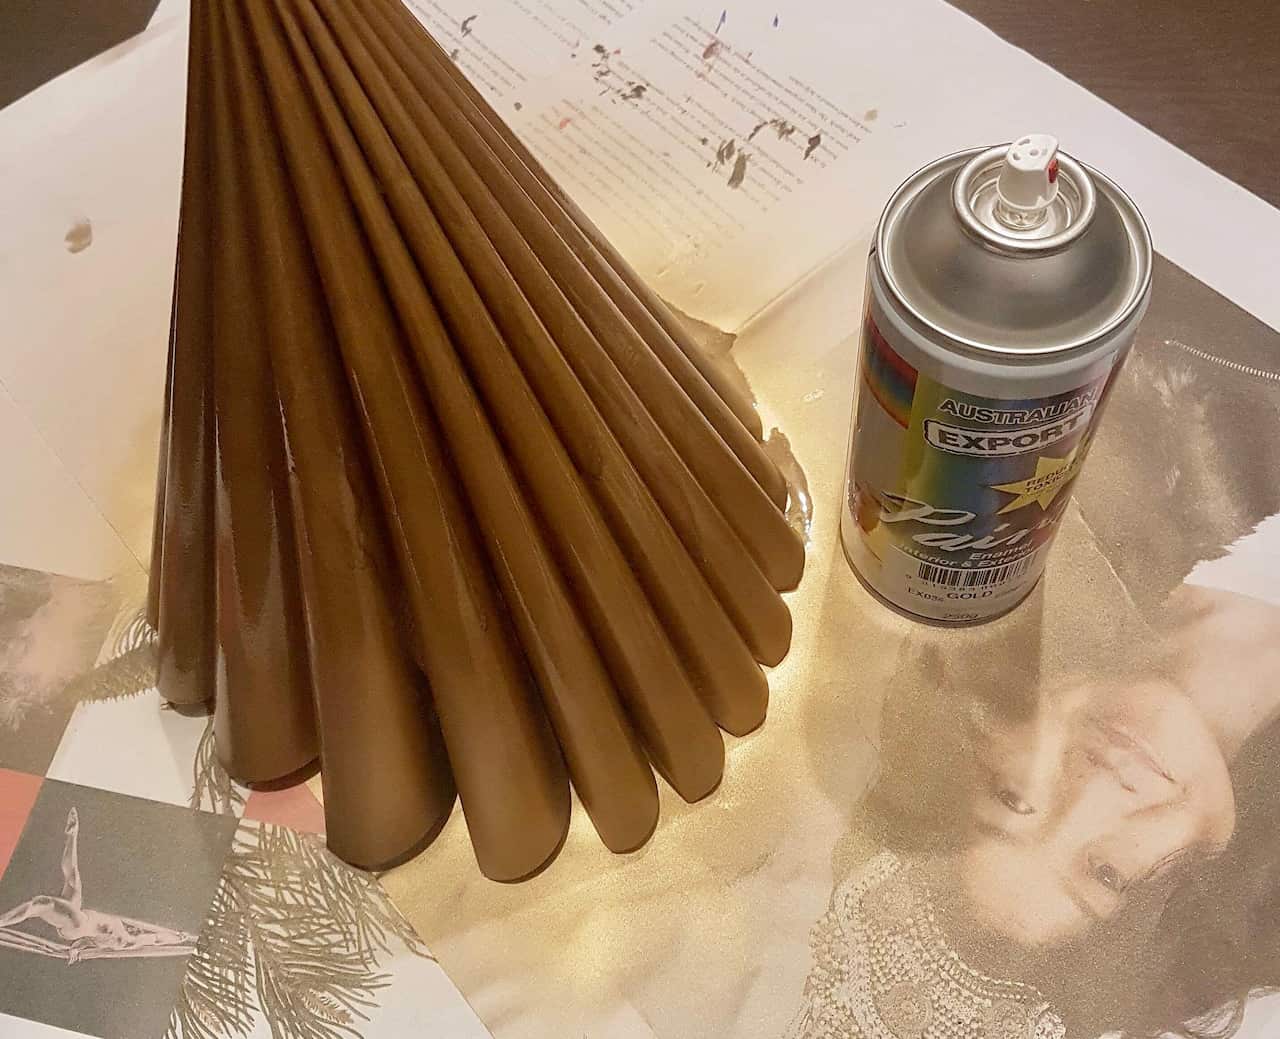
3. Use a spray paint (or acrylic paint if you don't have one) to cover every surface of the cone.
Tip: You can use any colour of your choice but it is recommended to use metallic Christmas colours.
4. Cut 1 cm strips from the toilet paper roll
Tip: To make the strips even, use a ruler and a pen before cutting them.
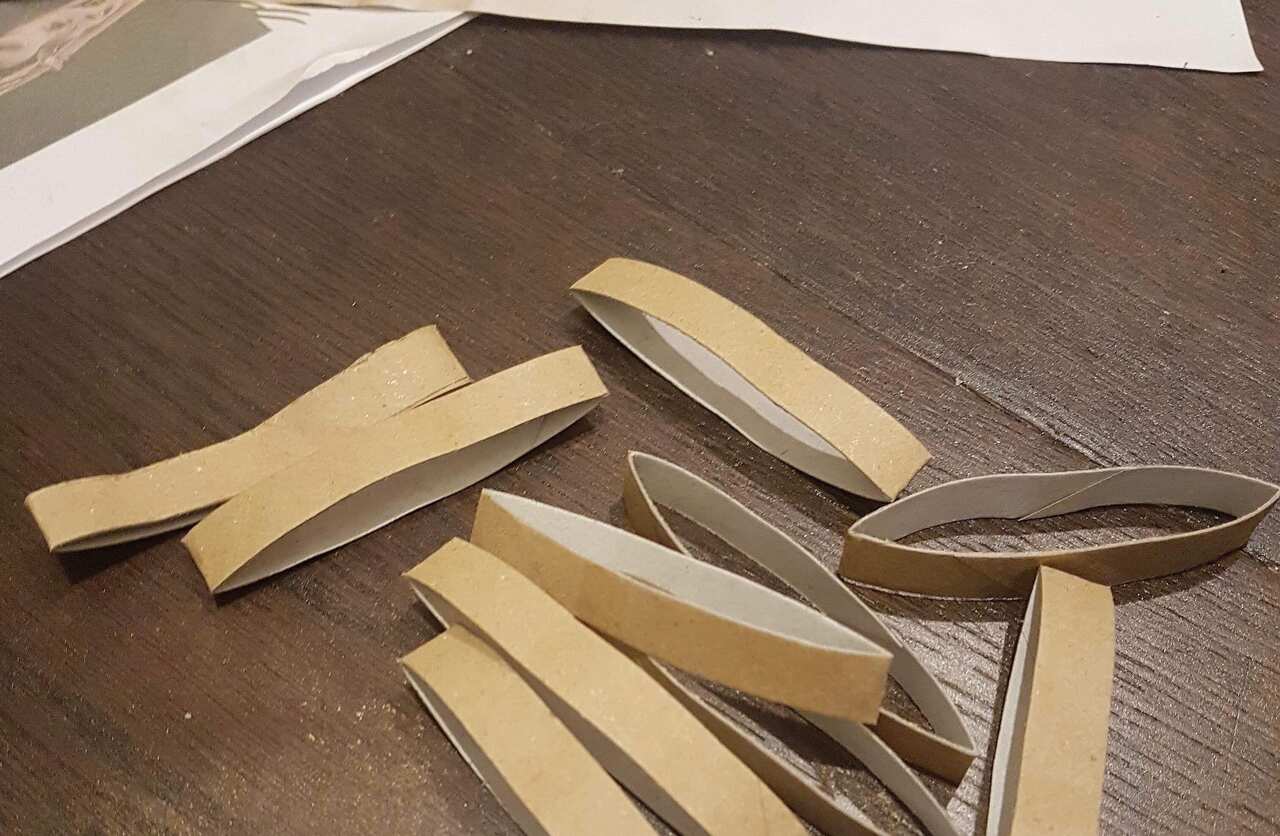
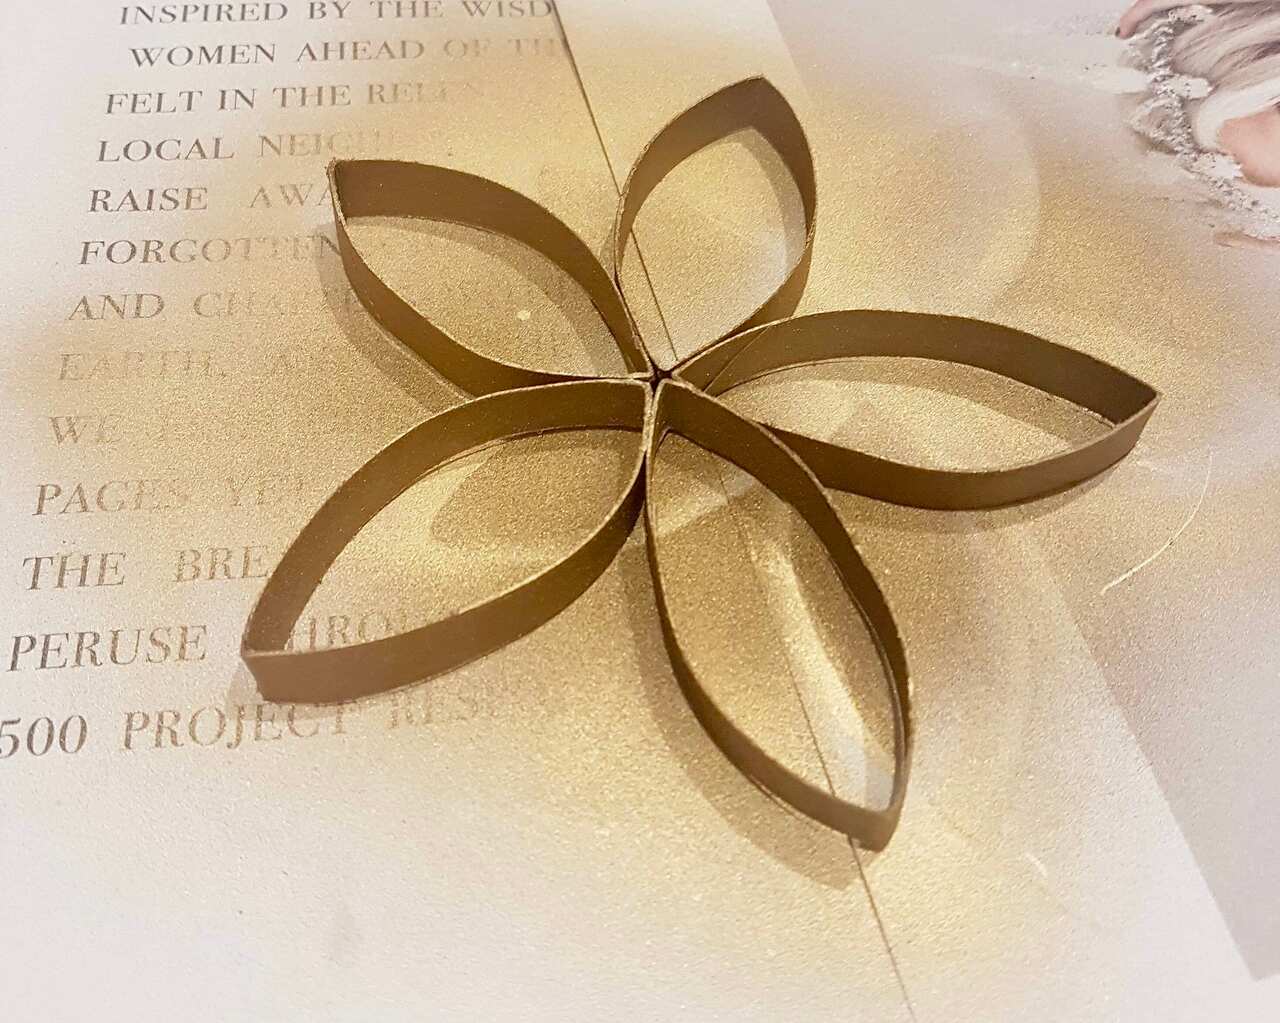
5. Take five strips (or as many strips as you like) and form them into a star or a flower. Attach the strips together using the glue. Cover the star/flower with spray paint/acrylic paint, or you can also cover it with glitters.
6. Cut any shape of your choice from a paper and put glitters on them ( Cristine used a ribbon with glitters and she cut them into circles).
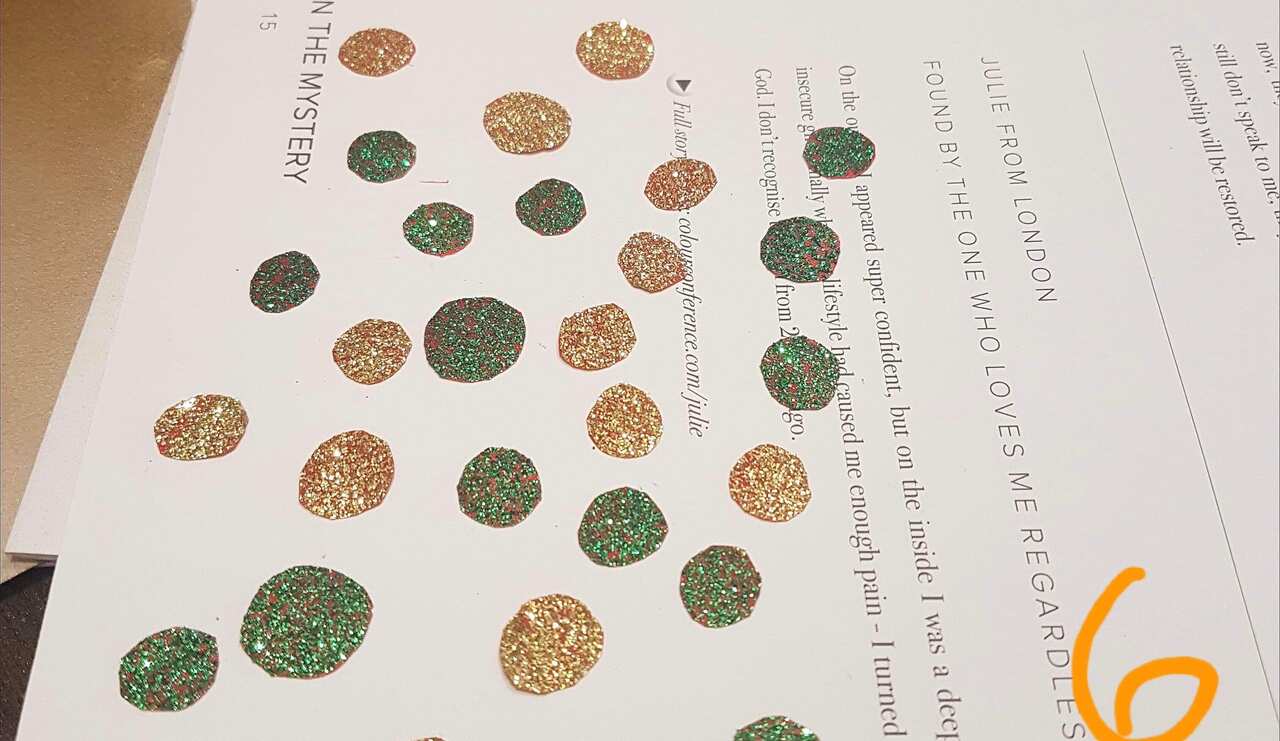
7. Lastly, put the star/flower on top of the cone and the glittered circles around the cone.

There you go, easy and festive Christmas cone made from recycled materials that are available at the comfort of your home. This DIY project will not even cost your pocket a few bucks!
ALSO READ