


Highlights
- Cheryl owns the small business 'The Dainty Wonderer'
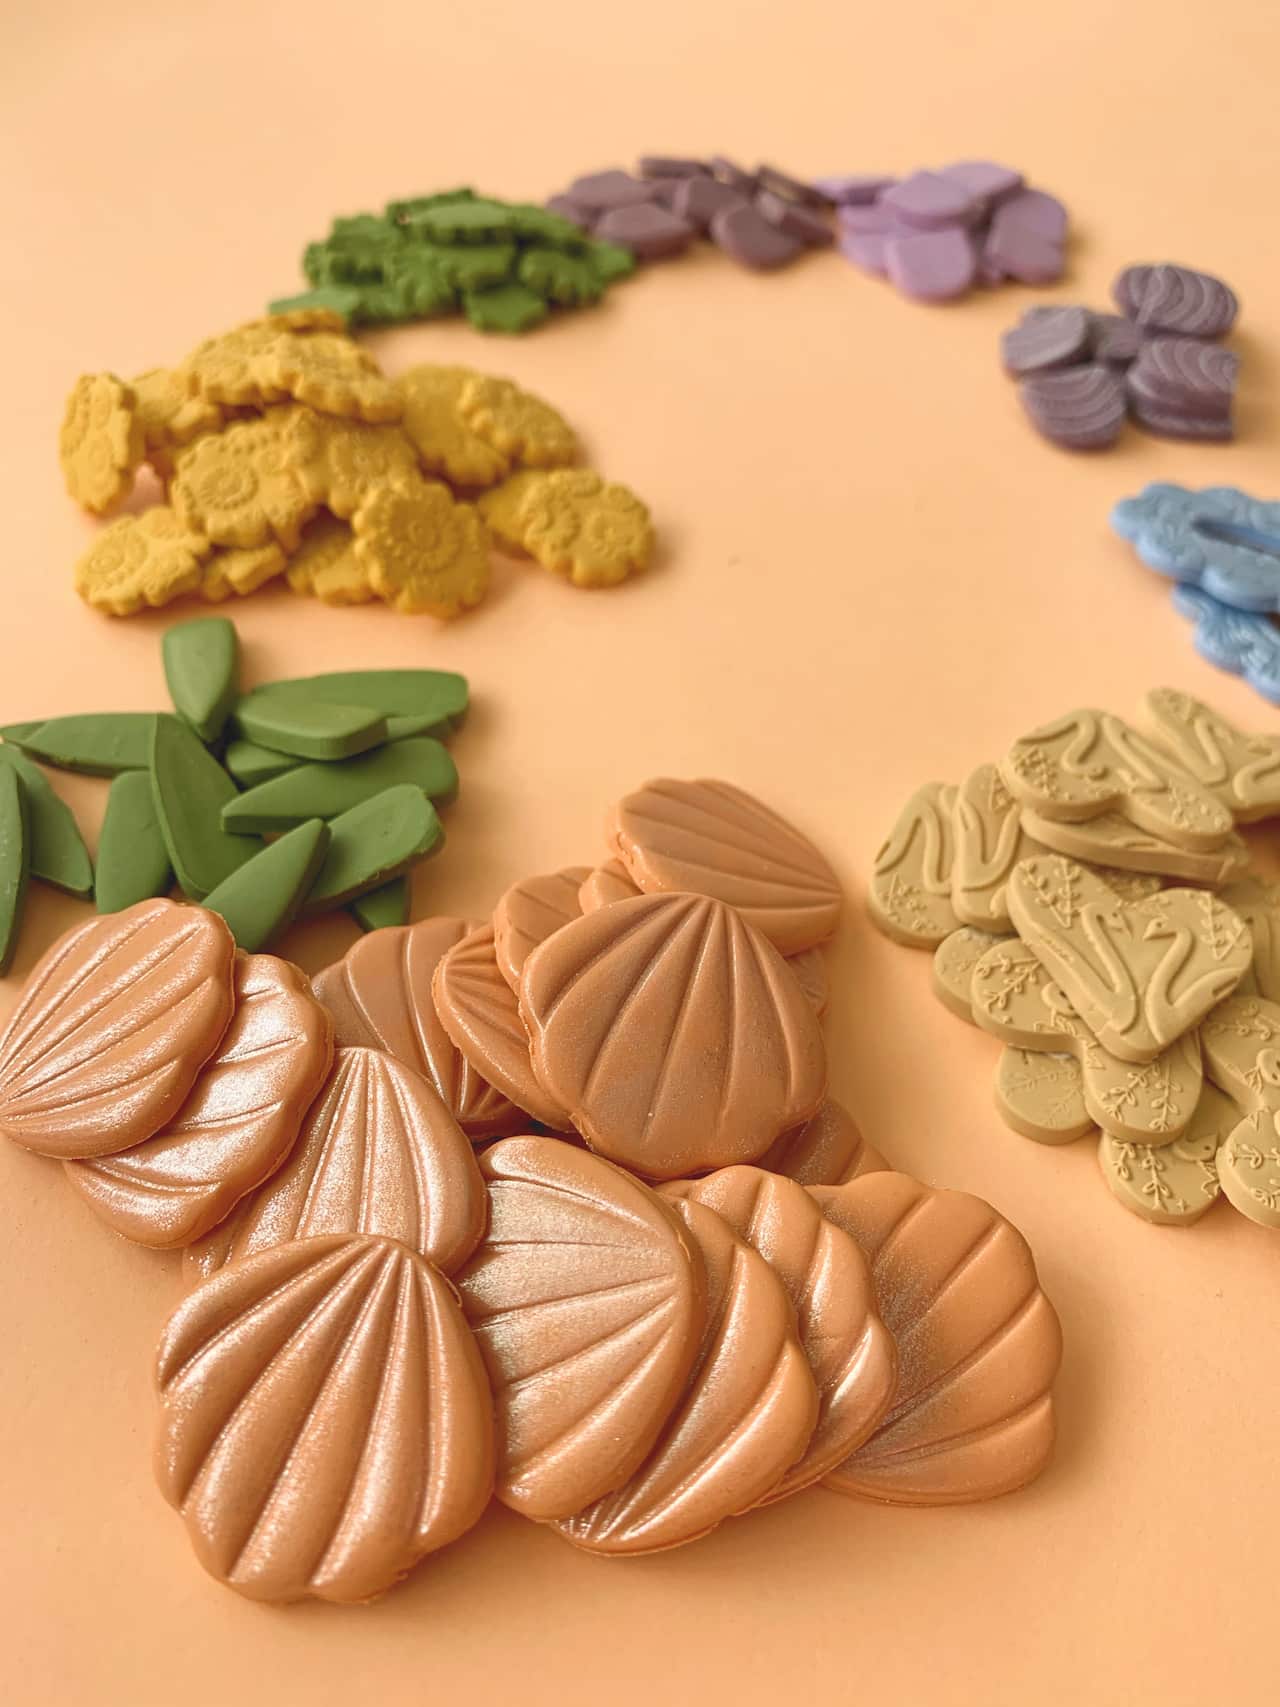
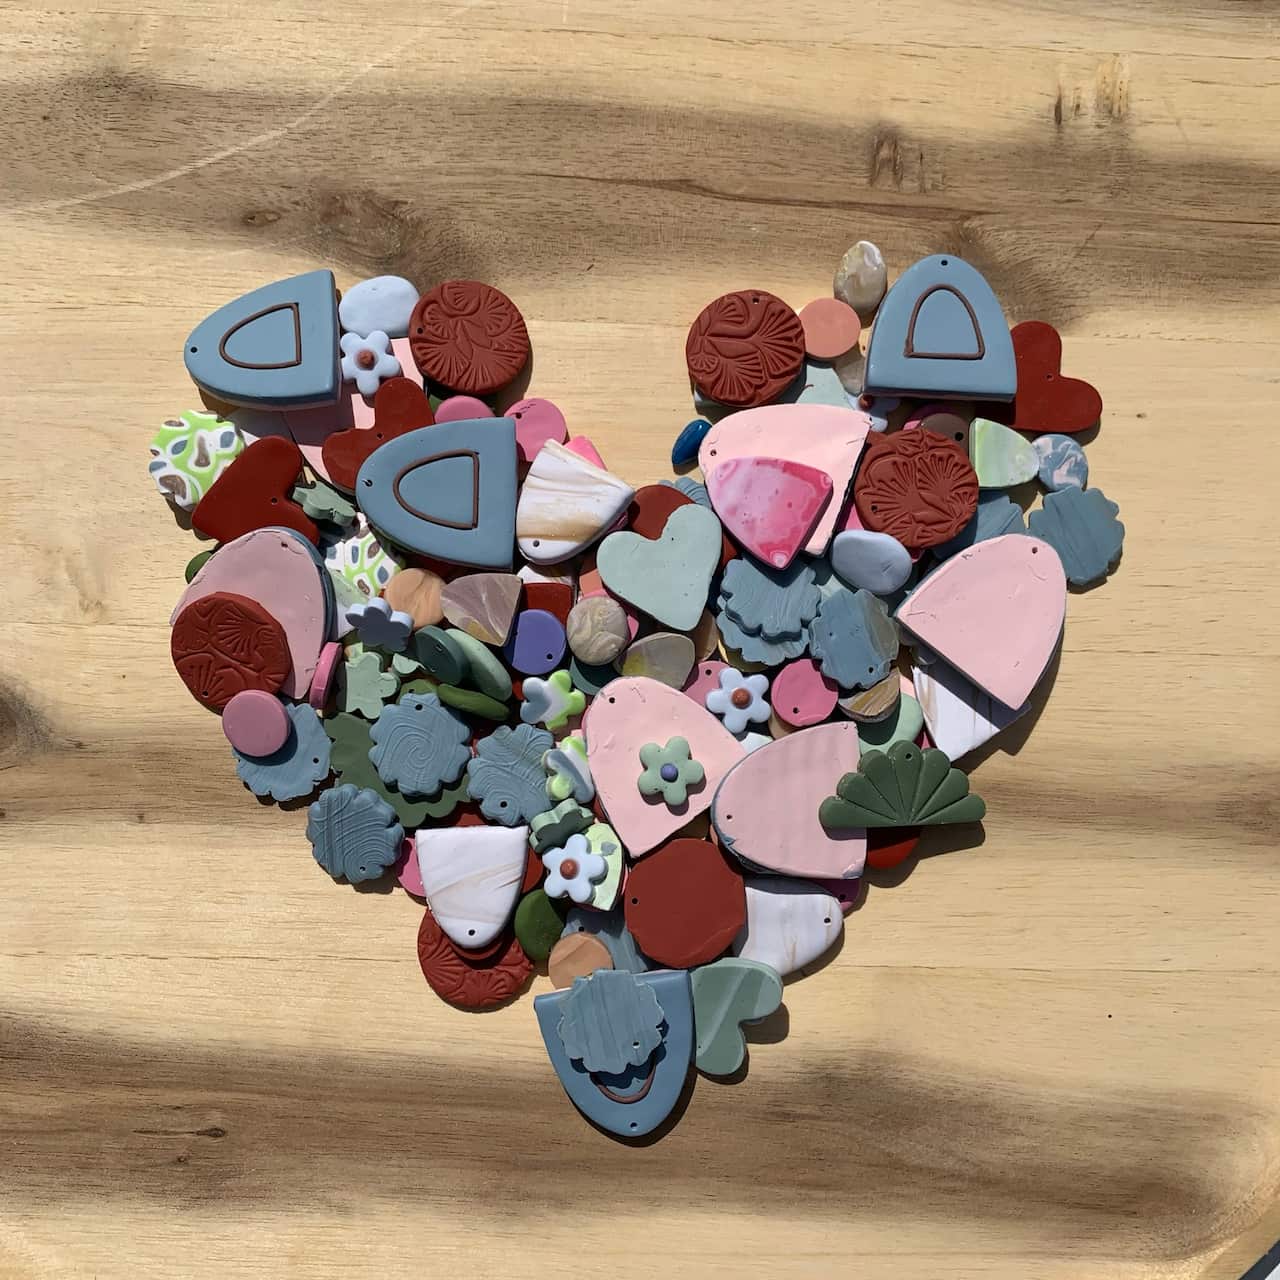
- She focuses on earrings and considers them to be 'wearable art'
- She gives tips on how to get started with polymer clay.
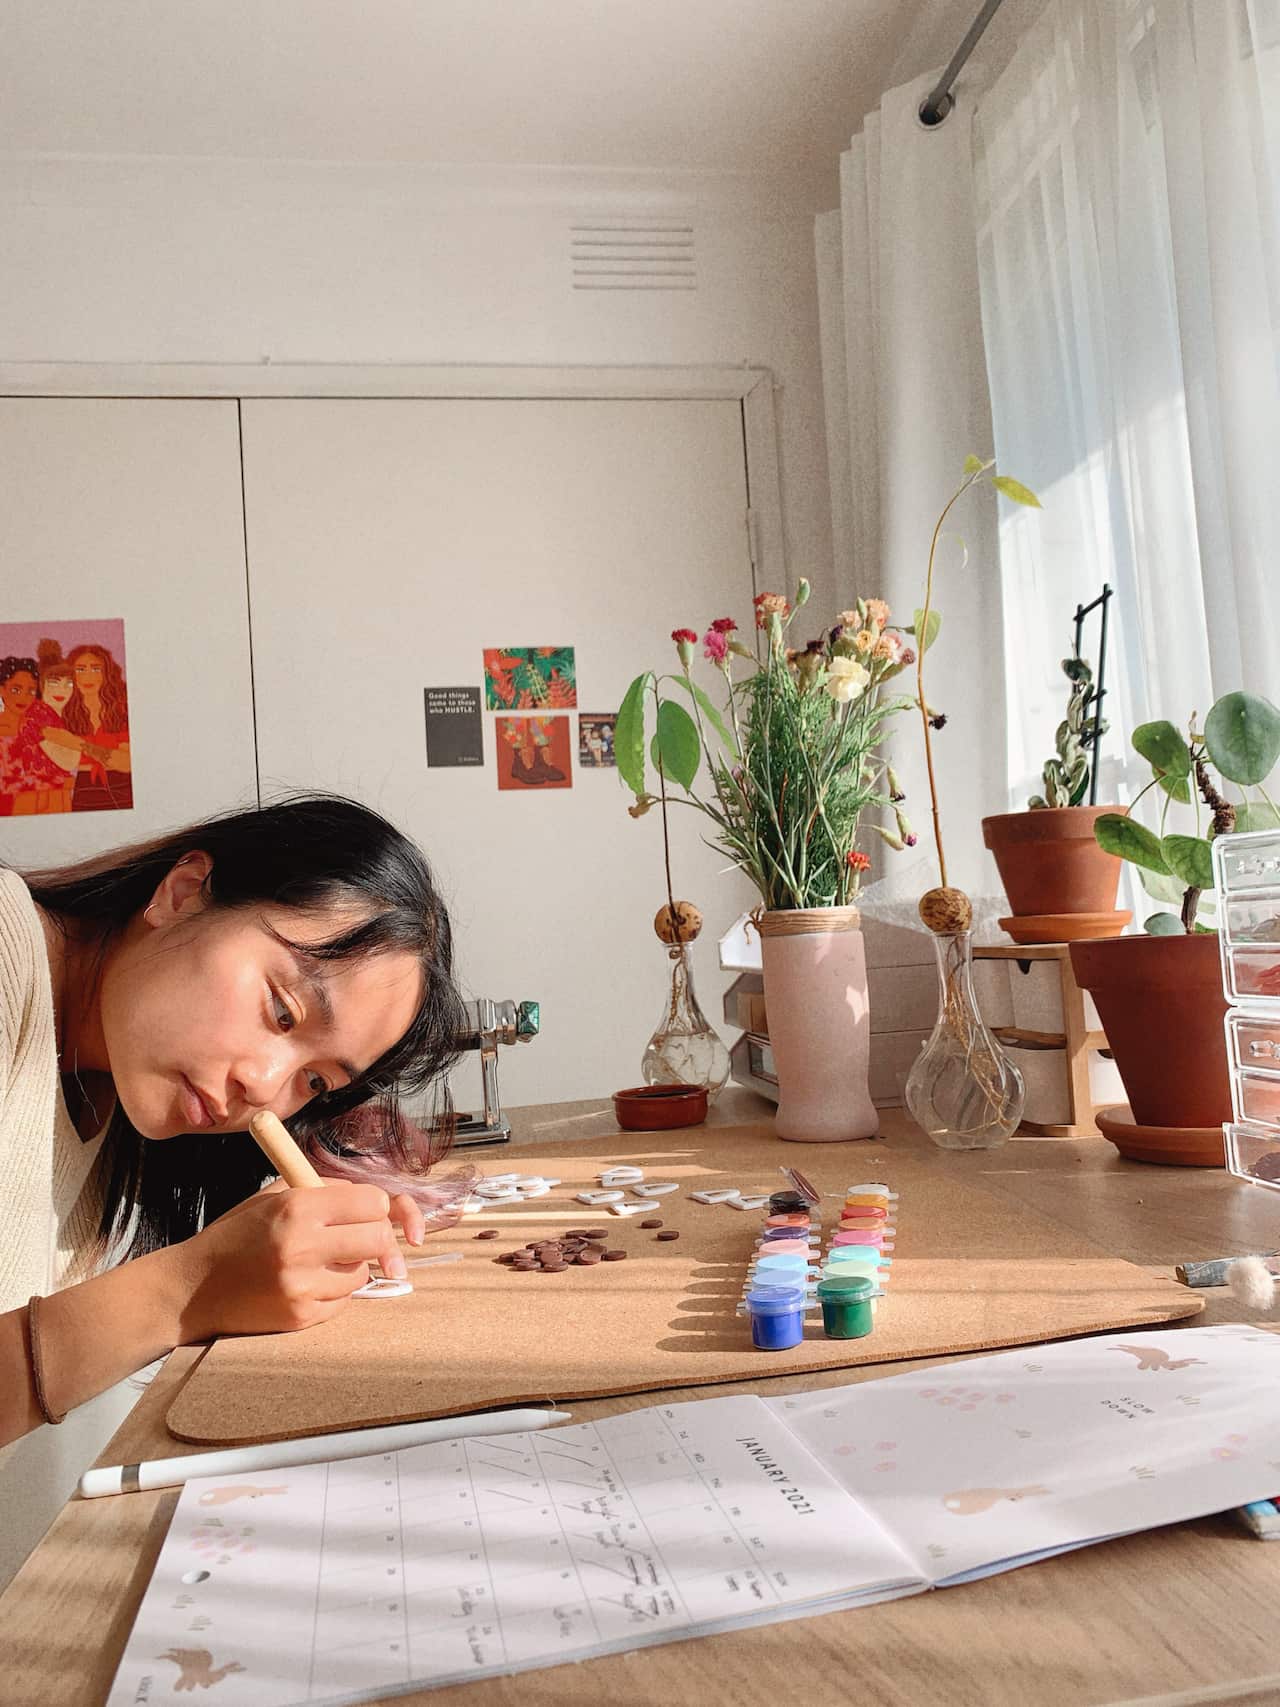
"Art for me is an expression of who we are. The earrings I make are expressions of my personality. I'm creative, colourful. I like nature. Like the themes of my work, I'm also random," artist Cheryl Canlas laughs.
For Cheryl, 'random' is also what led her into polymer clay artistry as a small business.
Wearable art
"I did a lot of scrapbooking, DIY when I was young. I've always been creative," she says, adding, "I finished uni when COVID happened and I found myself wanting to create again."
After seeing one of her friends create polymer clay earrings as presents, she decided to try out the medium herself.
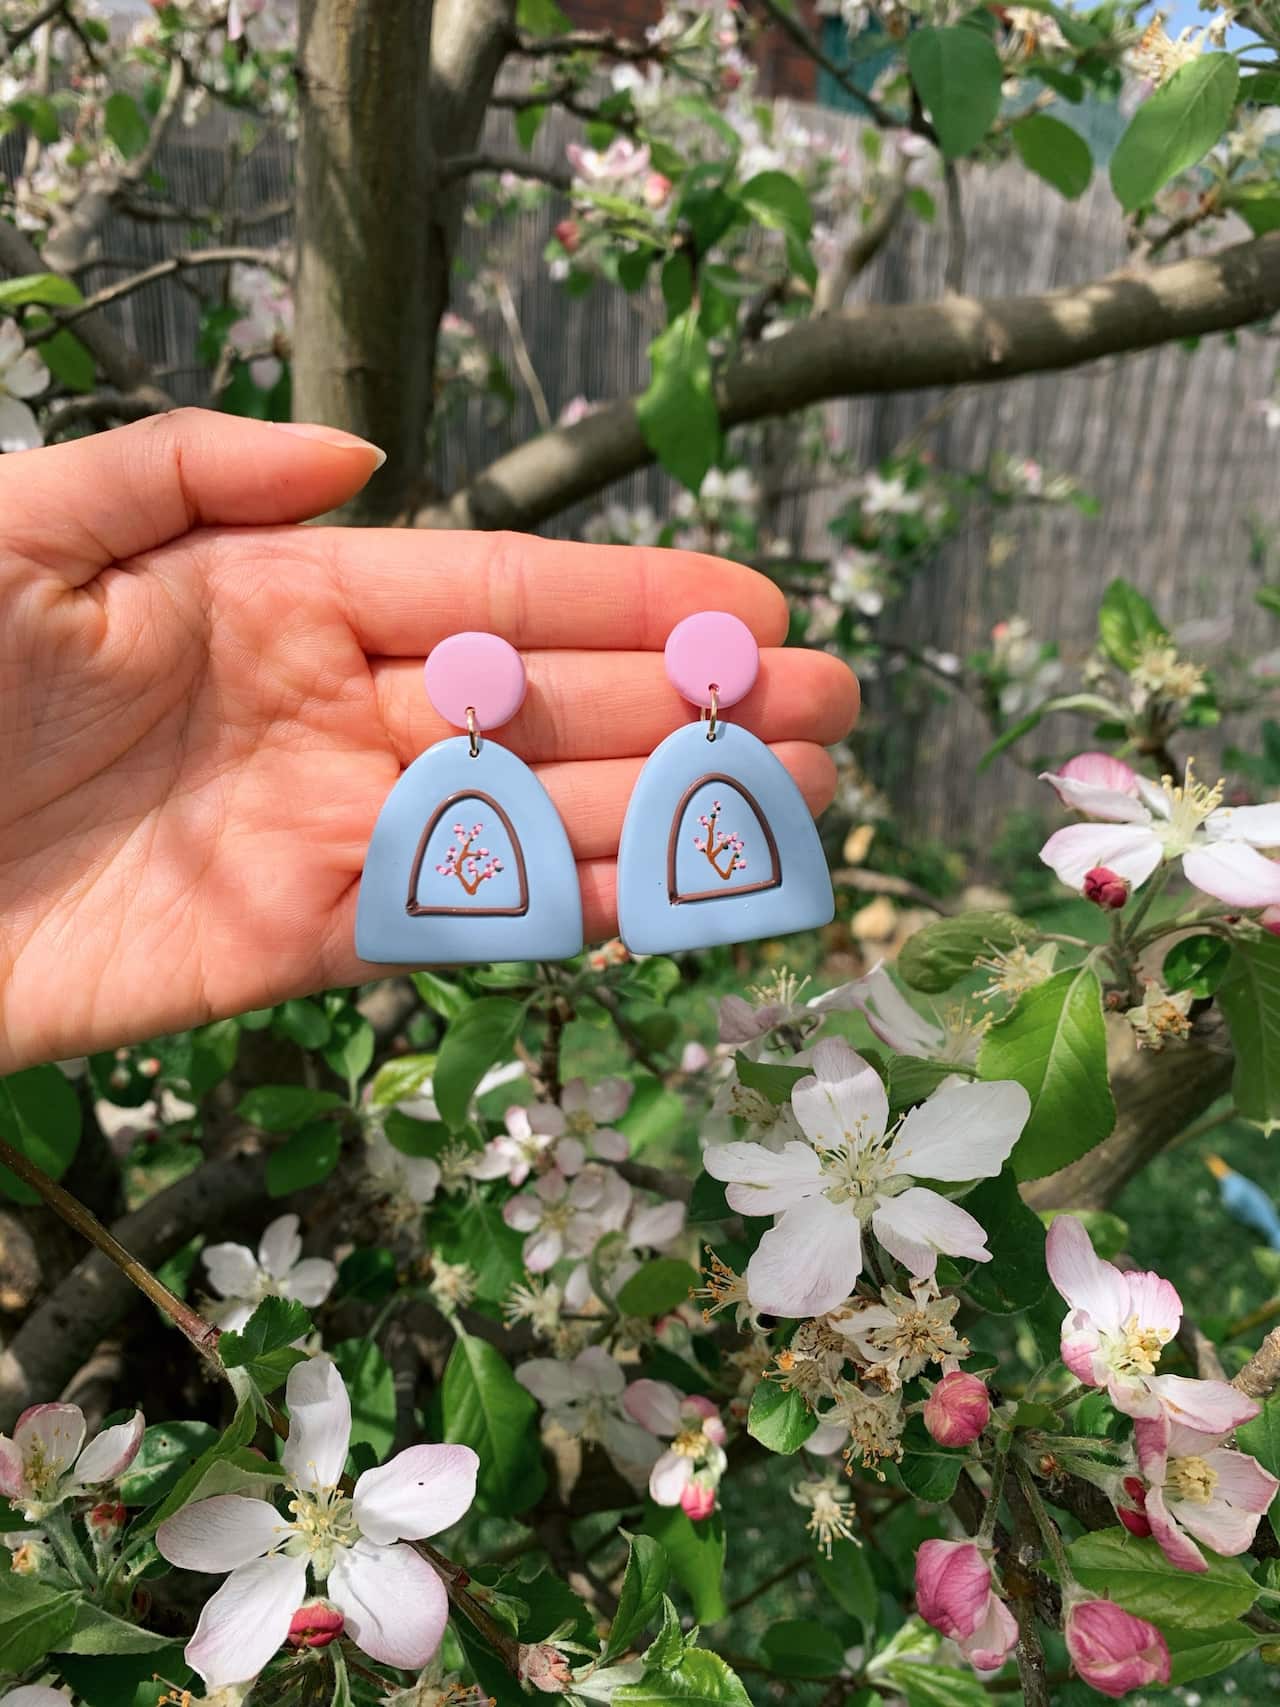
"I like how you can wear a basic outfit and earrings can instantly enhance your look. They're right next to your face, so they enhance your features somehow. They're conversation starters. They're wearable art."
These wearable art became the focus of her small business, 'The Dainty Wonderer'.
Polymer clay tips
"I initially bought the cheap kind of clay to experiment on. It wasn't the nice kind, but it brought back my creativity.
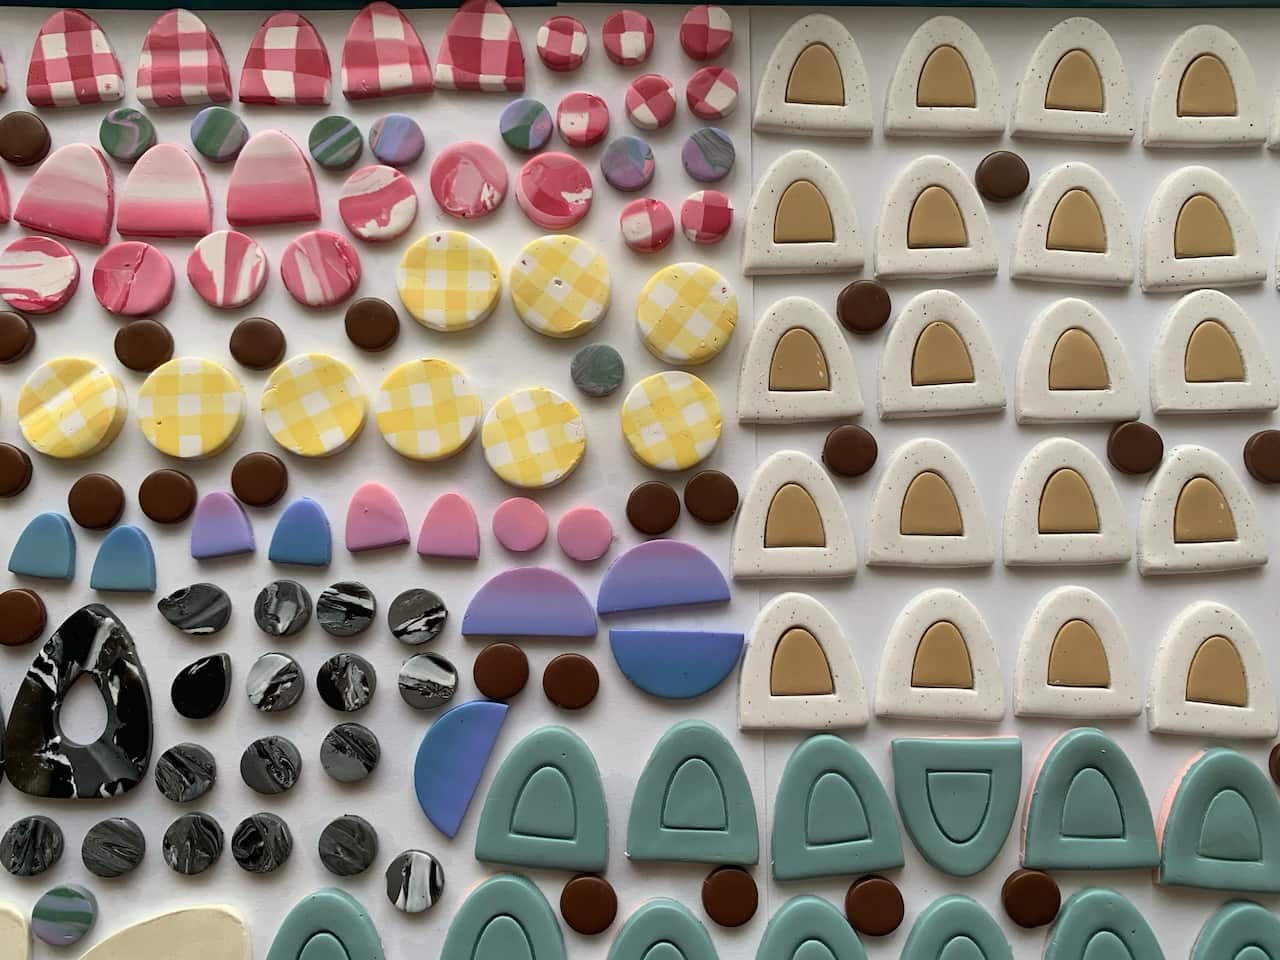
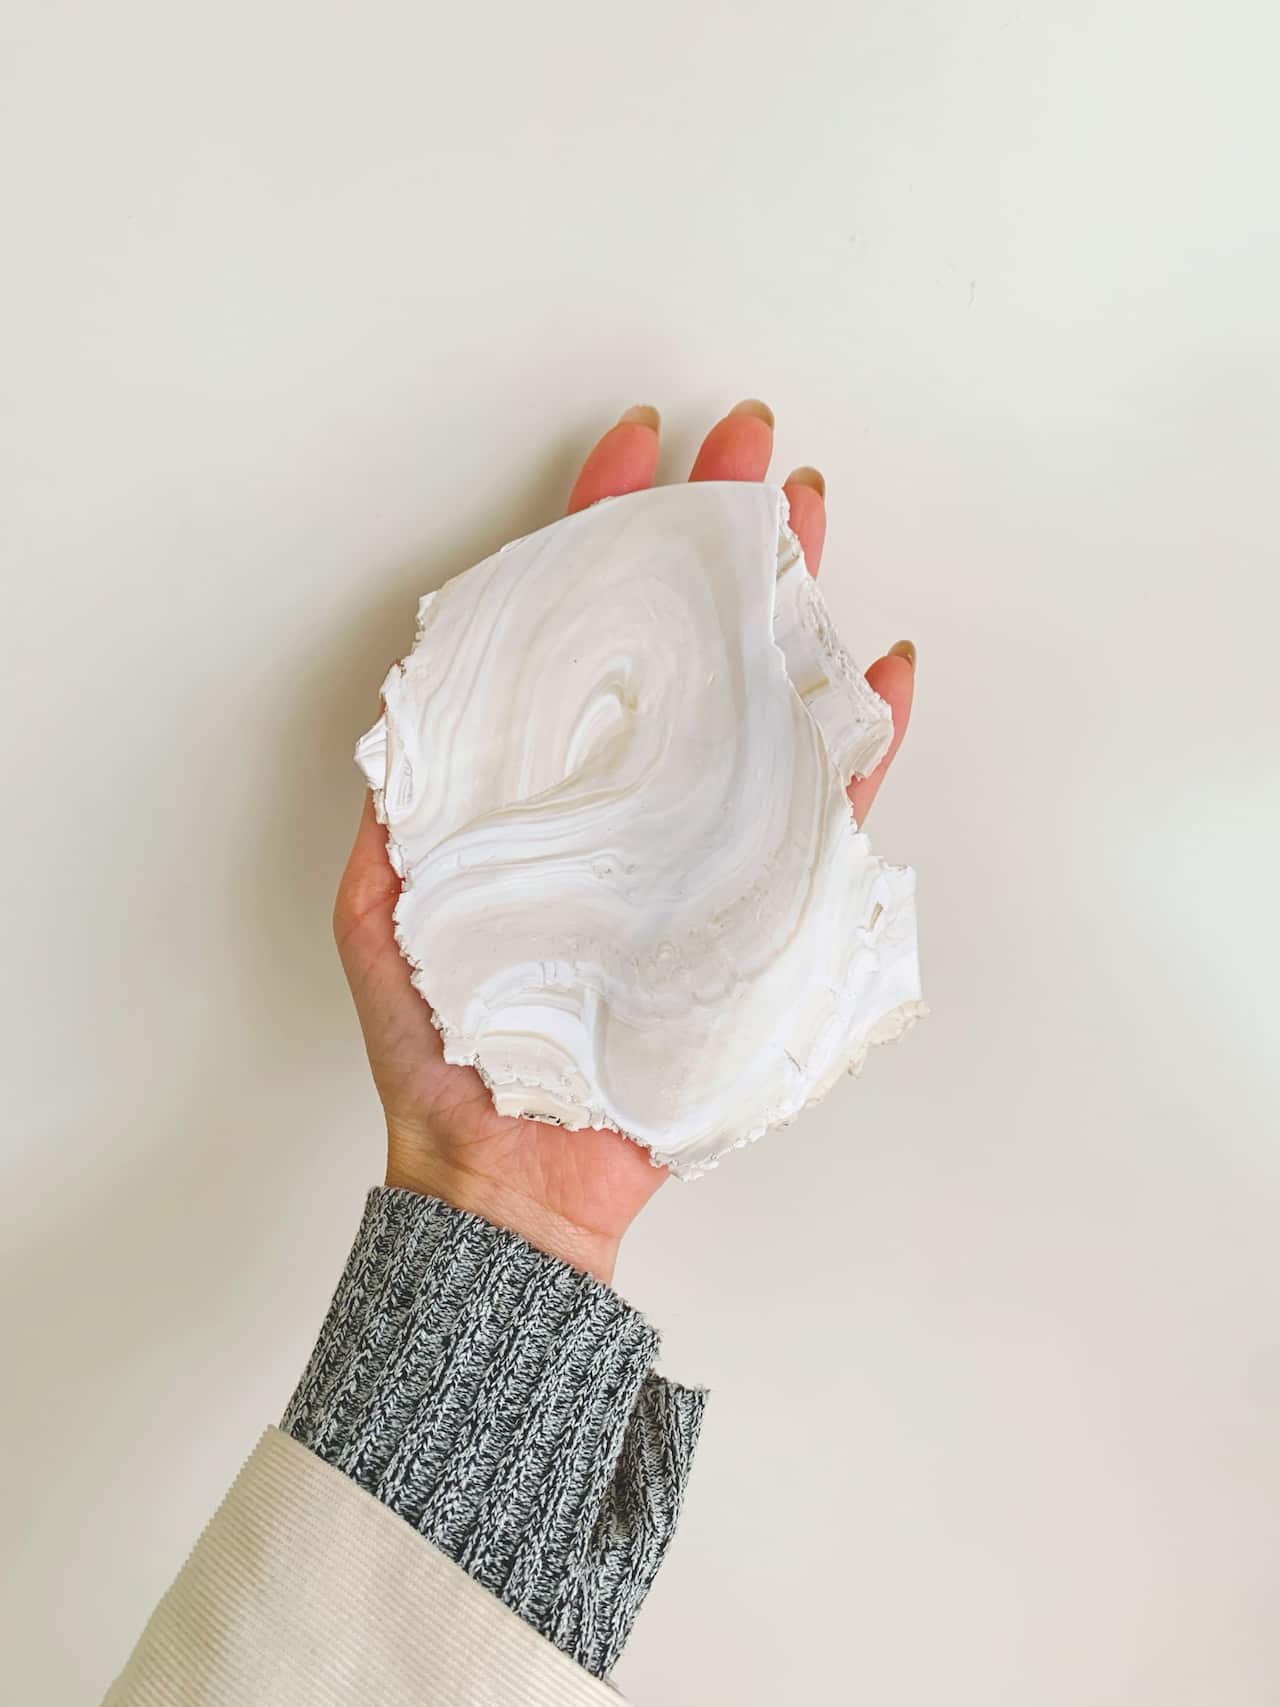
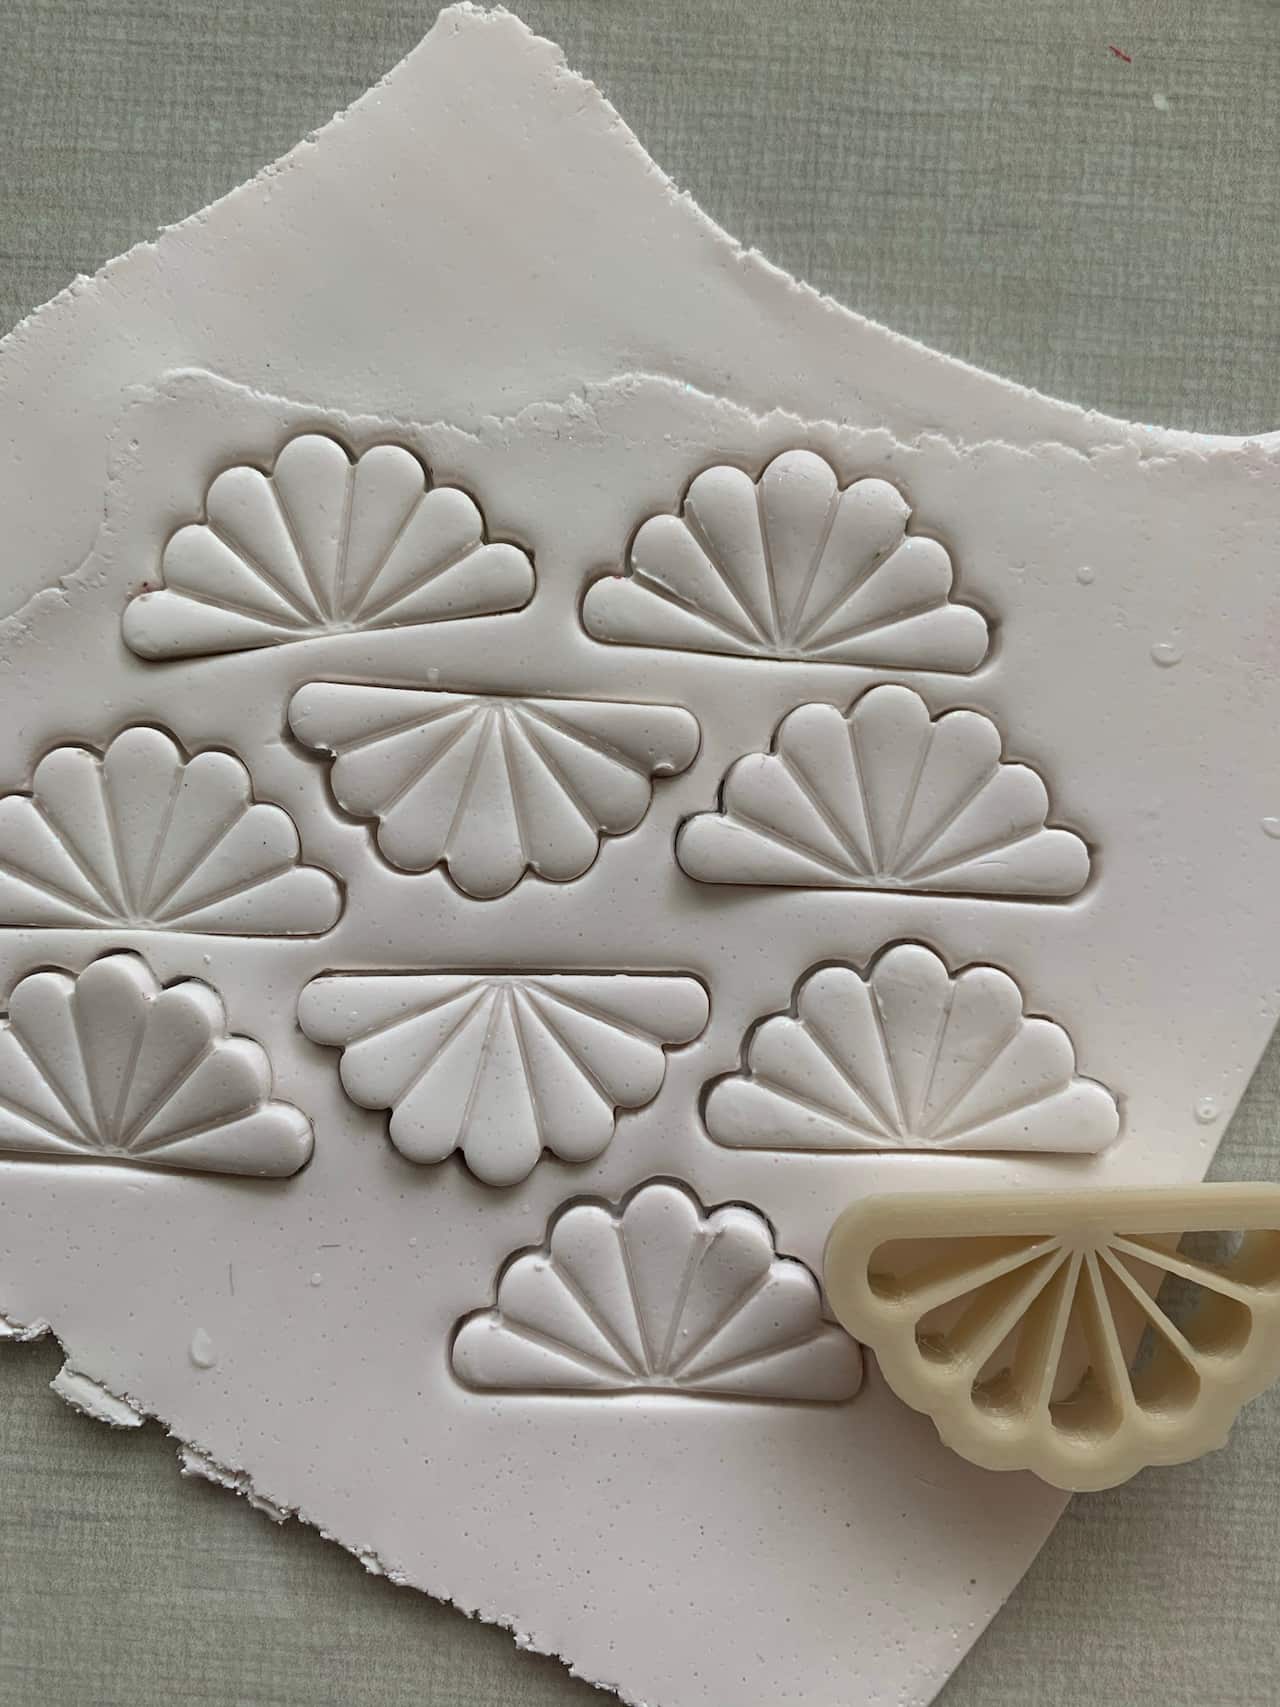
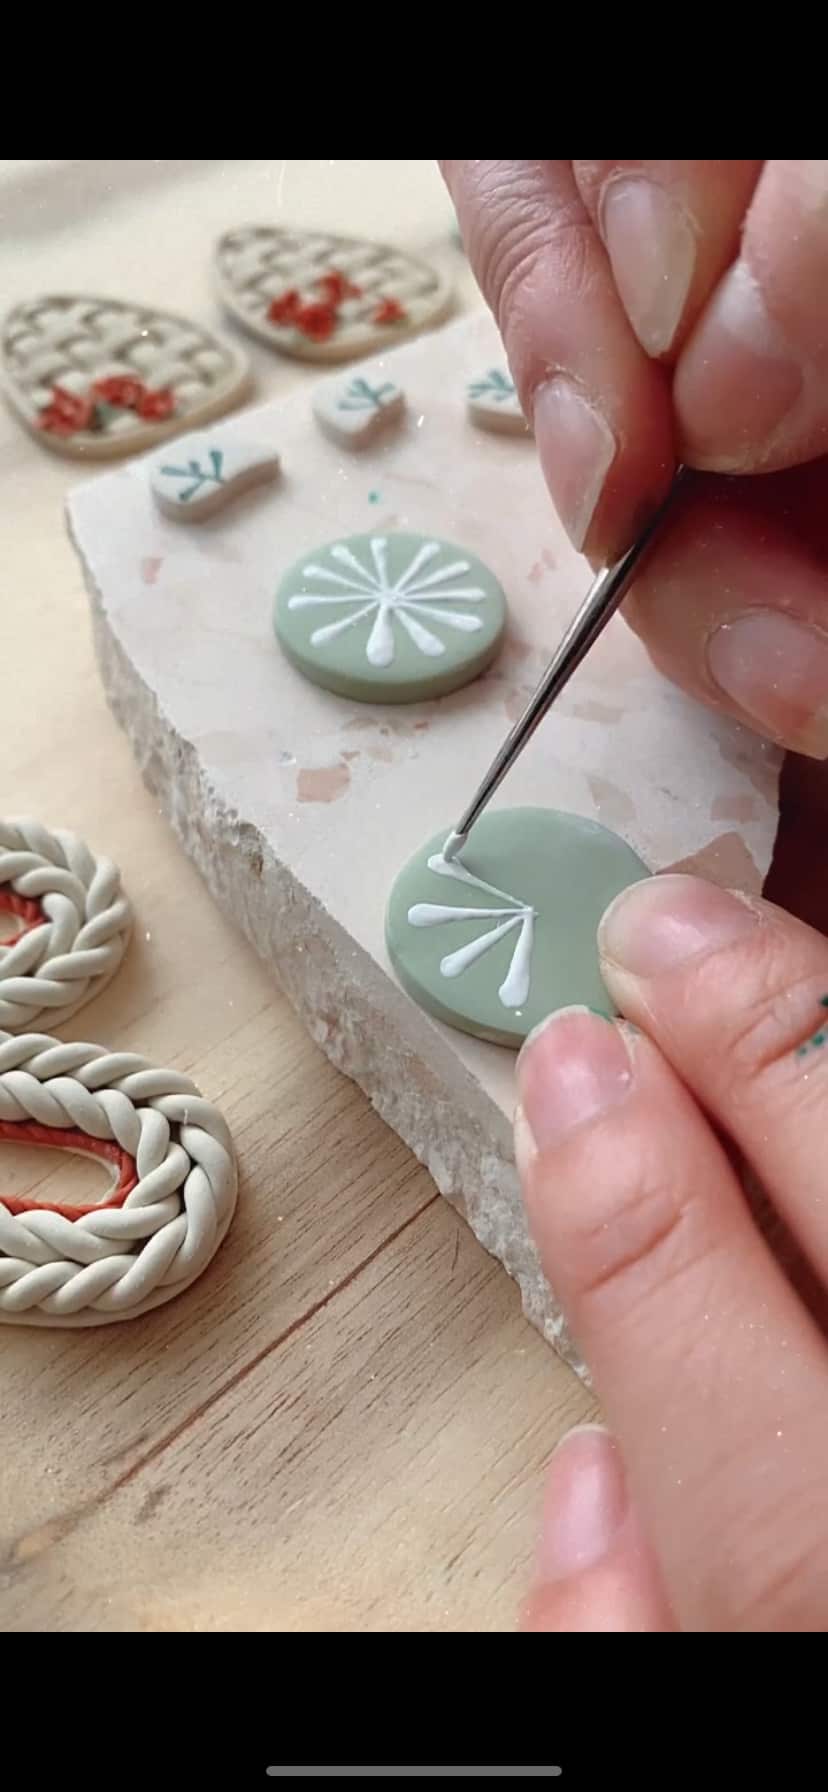
"I liked how you can shape polymer clay anyway you want. You can mix colours. The medium is malleable and fun to work with, but then after you bake it, it hardens. You can do so much with it."
For anyone wanting to try working with polymer clay, Cheryl suggests to keep the following in mind:
1. Good quality clay might be more expensive, but it's worth the expense. Cheaper clay will crack more easily when baked.
2. The hobby is expensive if you decide to pursue it, but it doesn't have to be at the start. You only need to buy clay and an acrylic rolling pin. You can use other materials you have at home, such as trays, cookie cutters, and others.
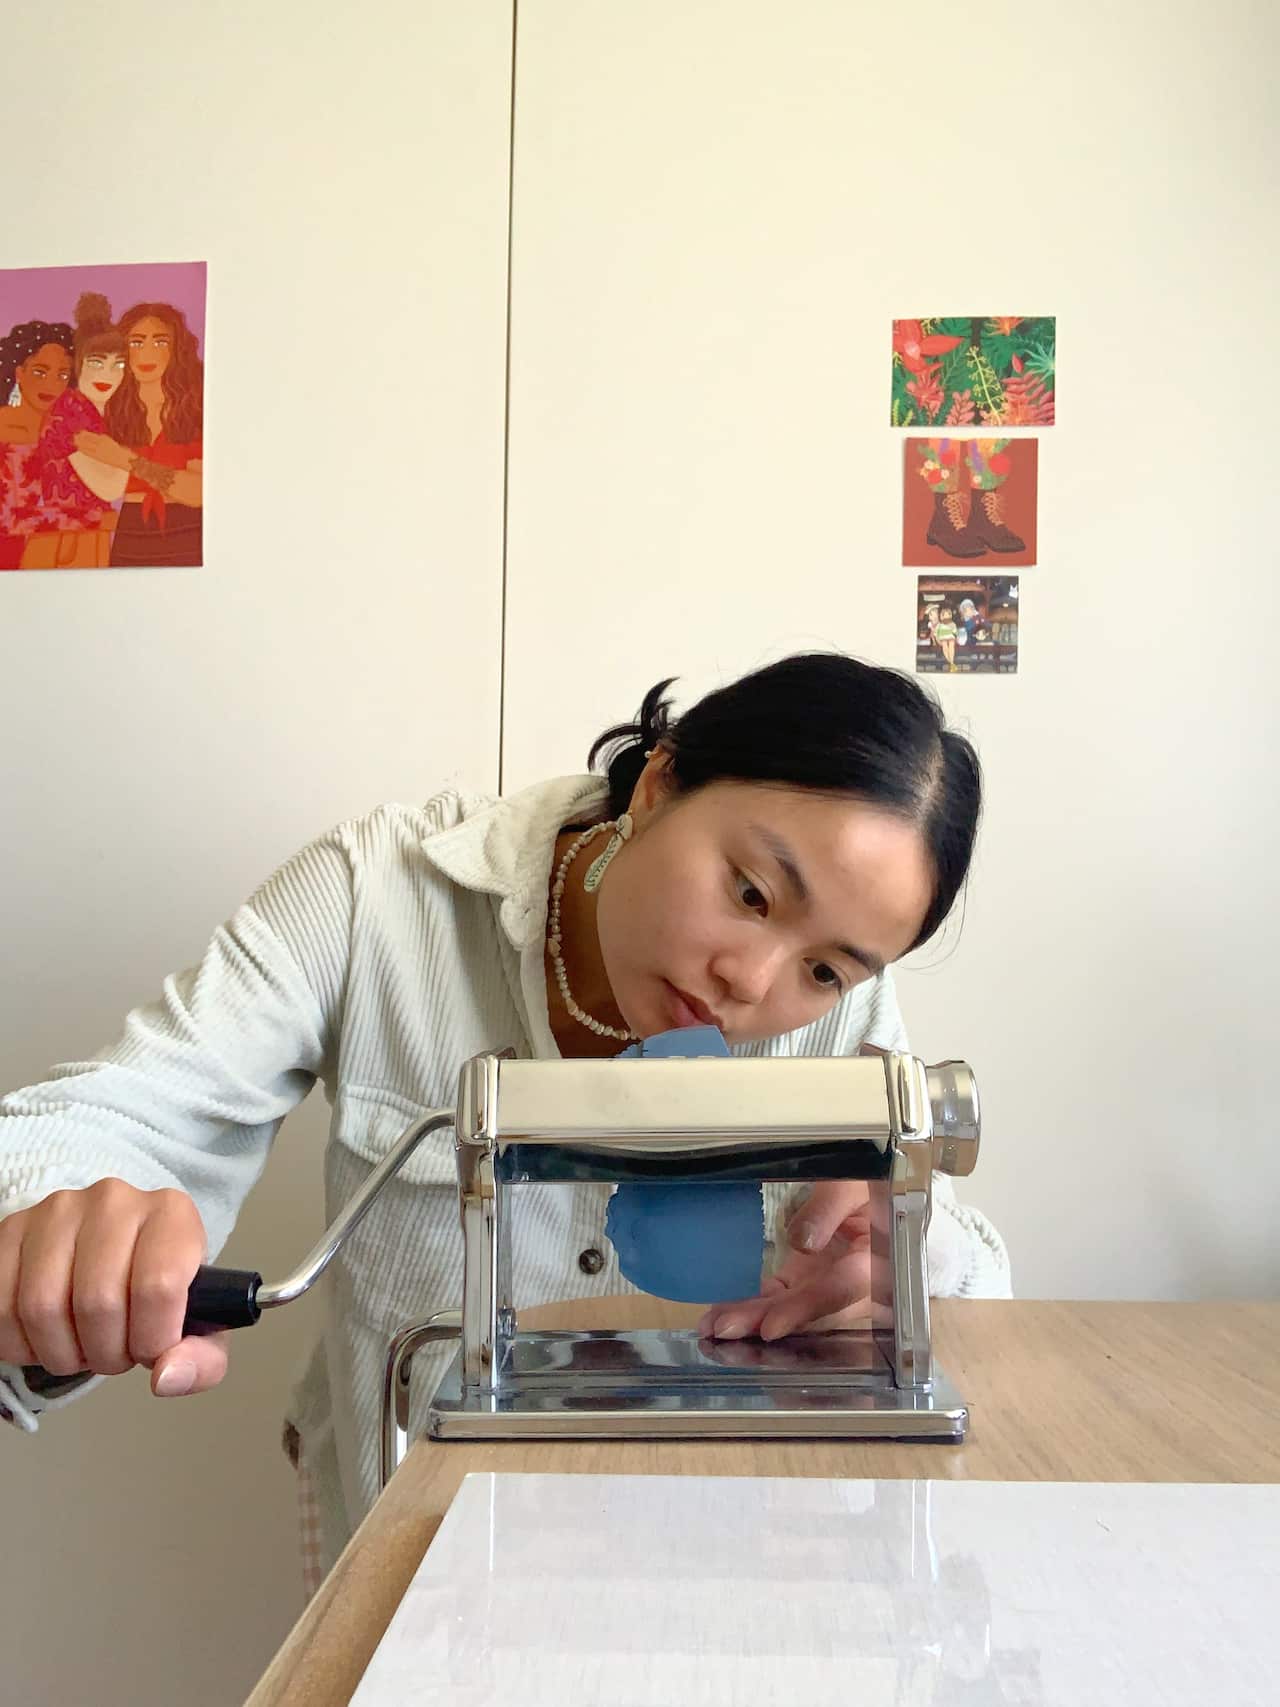
3. You need to condition or knead the clay before creating because it will be hard. Cheryl puts clay through a pasta machine.
4. Cheryl uses cutters, a hand drill for buffing and sandpaper with different textures.
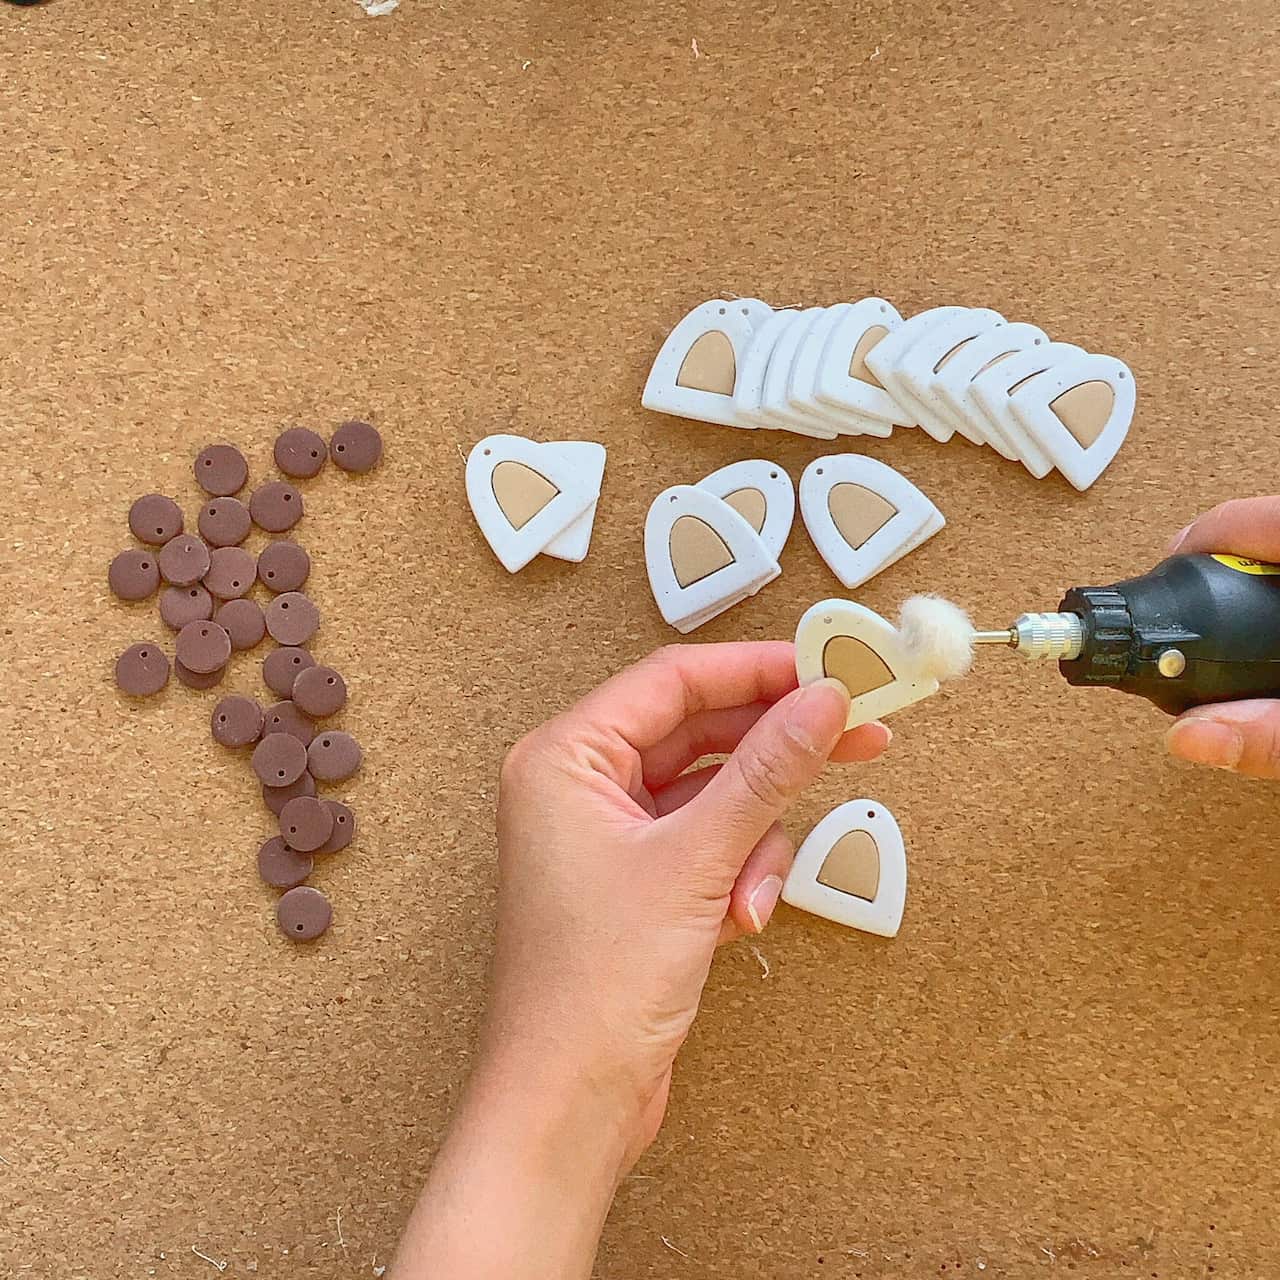
5. Dust sticks to the clay easily, so use alcohol and cotton buds to clean.
6. Polymer can be painted. Cheryl covers painted pieced with resin to strengthen them and make them glossy.
7. While a UV lamp can be used to dry resin, Cheryl shares that the sun dries pieces more quickly.
8. When baking, make sure to have a thermometer so pieces don't burn. While packaging says 30 minutes, Cheryl cooks for an hour and flips pieces every 10 minutes for even cooking.